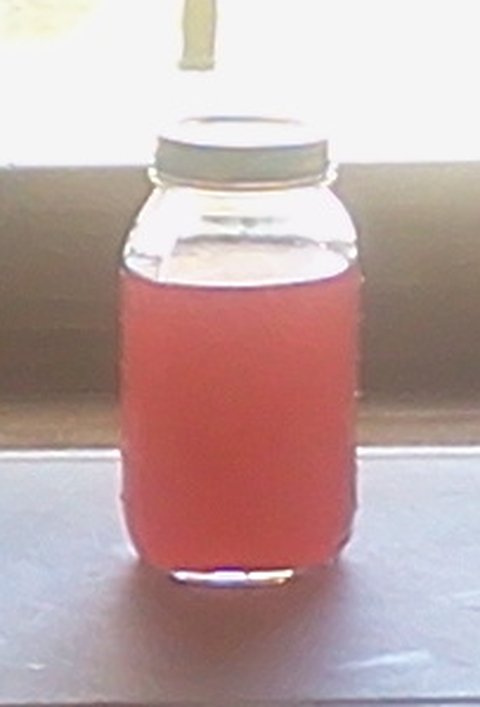
A finished wild crabapple cider vinegar — ready for the pantry
I did the final stage of making the wild crabapple cider vinegar today: bottling it. It was very strong and tasty.
It was pretty simple to finish off, first I stirred it vigorously — to mix in as much of the “mother” as possible — and then I transferred it to a quart jar that I had just sterilized. It resulted in just about 24-25 ounces.
I tested my apple cider vinegar today and it was very strong, so I decided to bottle it. I stirred it vigorously — to mix in as much of the “mother” as possible — and transferred it to a quart jar that I had just sterilized. It resulted in just about 24-25 ounces.
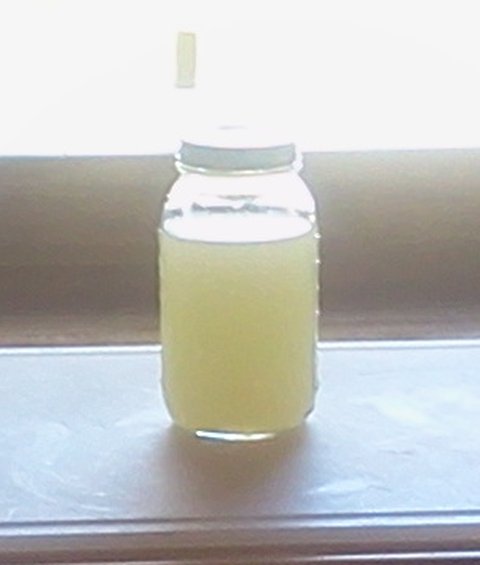
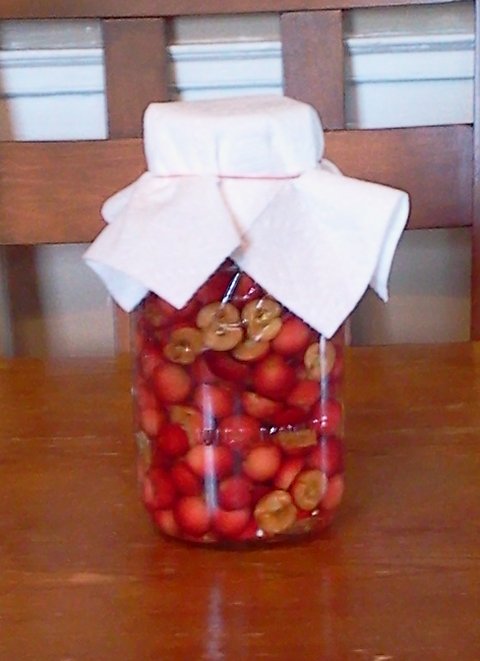
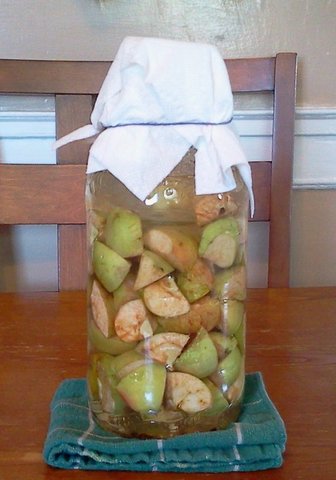
Wild crabapple cider vinegar “must” after having the apple chunks and bits strained out of it
I did step two of making crabapple cider vinegar today.
It was easy — after waiting three weeks, I filtered out the bits of crabapple, seed, etc. and then poured the vinegar must back into the jar and re-covered it with a paper towel secured with an elastic band. Normally, I would have used the same paper towel, but in this case it had absorbed some vinegar, so I replaced it with a new clean one.
It was three weeks ago, today, that I put in my first batch of apple cider vinegar.
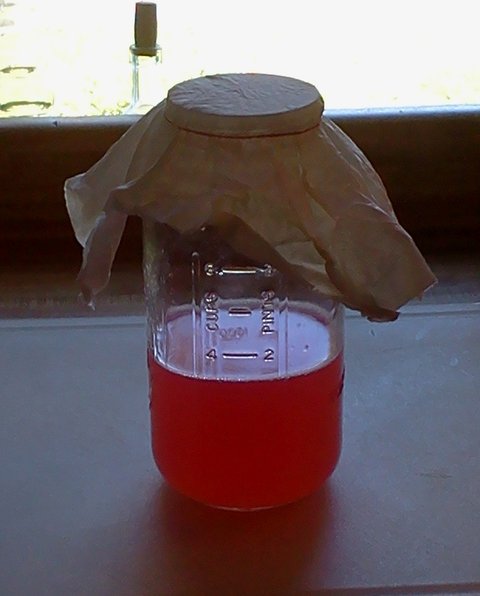
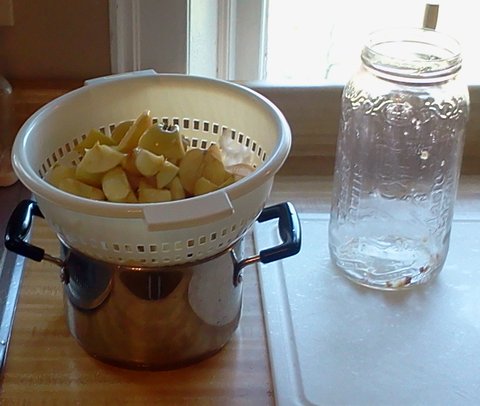
Strained apple cider vinegar must after the first three weeks
I strained the apple chunks out of the vinegar and put the strained liquid back into the same jar, replaced the paper towel cover and put in back in my pantry.
Apple cider vinegar must after three weeks (before straining)
All there is to do now is wait 4-8 more weeks and see how it turns out. The recipe says I can start tasting in four more weeks and once I get an acidic flavor that I like to transfer it to it’s permanent bottle and location.
I’ll update you when I do the last step.
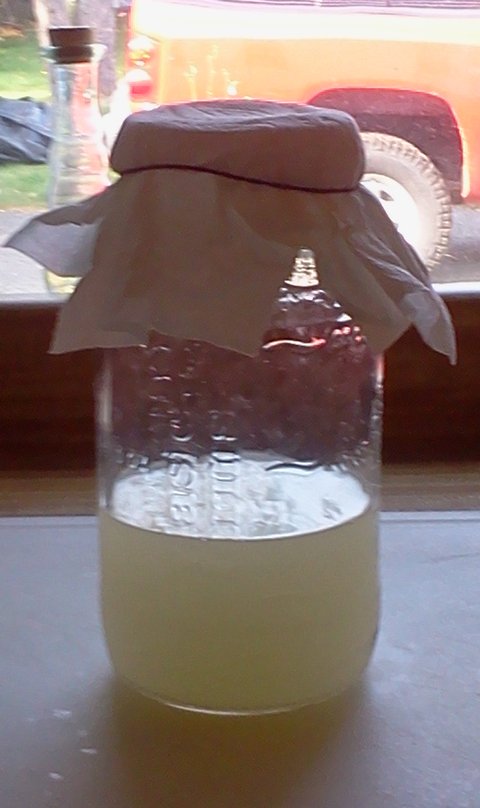
Straining the apple chunks out of the apple cider vinegar must
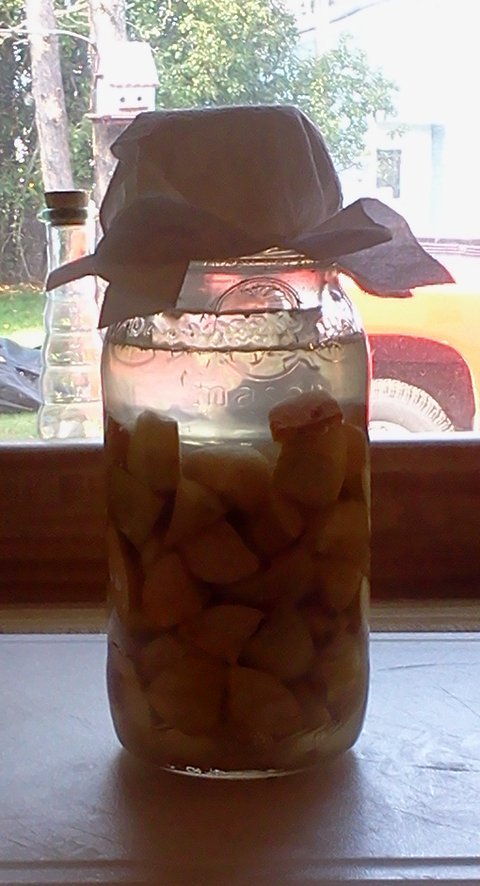
Crabapple cider vinegar “must” just about to go in the pantry
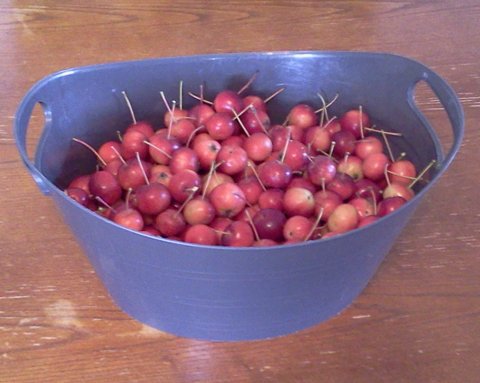
The crabapples on the tree outside my office window are turning dark red, which means they’ve just about reached peak ripeness, so, for many of the same reasons I listed in my post about making apple cider vinegar, I decided to make some wild crabapple cider vinegar.
Many people don’t know that crabapples are real apples, the only difference is that they are smaller (and native to N. America, which regular apples are not). They can be used for anything “tart” apples can be used for: jellies, syrups, crabapple pie filling, ciders, and vinegars.
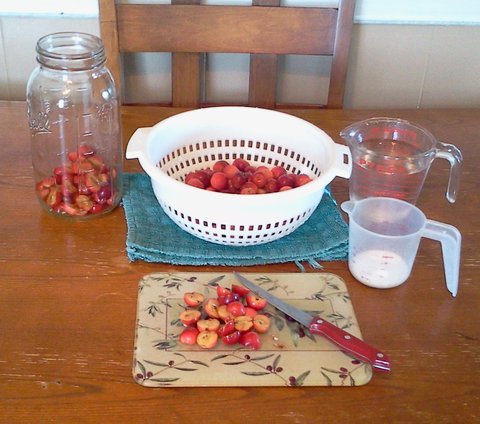
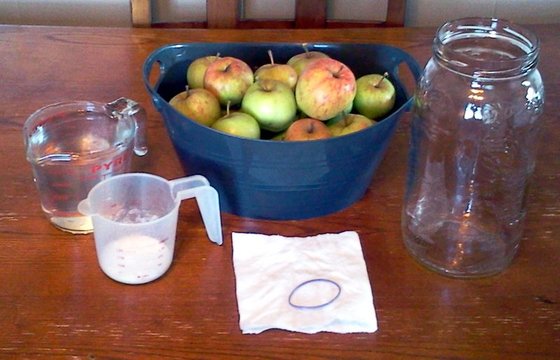
All the fixins for making wild apple cider vinegar
I started by picking the crabapples. Then I brought them in to clean and removed the stems. Afterwhich, I cut them in half and trimmed any bad/rot spots off.
Five pounds of freshly-picked “American” crabapples
When I was done, I put them in the 1/2 gallon canning jar, mixed the sugar and water, and added it to the jar — just enough to cover the crabapples by about half an inch. It’s important to ensure the apples stay below the water-line or bad mold/bacteria can develop. If they float, I use a (sanitized by boiling) smaller jar which I shove down the mouth of the canning jar, to hold them below the water. This time none of the floated so I could dispense with the extra jar.
Once I was sure they weren’t going to float, I covered the top of the jar with a paper towel, secured by a rubber band to let the mixture breath, but keep the nasties out.
Then I put it in the cold room (any relatively warm, dark place will do). I’ll check on it every few days to make sure that a nice healthy “mother” develops. A nice white foam should develop on top of the water — if any other color foam or mold develops, compost it and start over. Eventually that white foam will turn black — thats the “mother”. It’s what turns cider into vinegar.
In two to three weeks, I’ll strain the crabapple bits out and place the mixture back in the closet. It should finish-up in about 2-3 months. After a couple of months you can try tasting it regularly, when it develops a taste you like, put a secure cover on it and store it in your pantry.
Apple cider vinegar (ACV) has a long history (dating back at least to the ancient Greeks) as a folk remedy for treating everything from dandruff, to obesity, to heart disease, and possibly even cancer. These remedies are linked to the “mother” present in traditional, unfiltered apple cider vinegar. Mother is a complex of strands of proteins, enzymes, and “good” bacteria that give the product a murky, cobweb-like appearance.
One thing’s for sure, ACV is delicious in many recipes and it’s essential (along with other vinegars) to homesteaders for home canning, particularly for pickling. It has an added bonus of being easy (and cheap) to make.
Last Saturday I decided to try my hand at making a batch. Here’s how I did it:
Ingredients:
2 lbs. of apples
4 cups of water
4 tbsp. of sugar
Equipment:
1/2 gallon pickle jar
2 measuring cups
Wooden spoon
1-pint Mason jar (to use as a stopper)
Paper towel
Rubber band
3-quart pot for boiling water
6-quart pot for sterilizing equipment
Apple cider vinegar ingredients and equipment
I sterilized the pickle jar with bleach the night before and left it upside down in the dish rack for 24 hours to air-dry. After about 12 hours, or so, the bleach smell was completely gone.
I started by putting the water on the stove top to boil for ten minutes then I went out to my side yard to pick the apples from an early harvest Lodi tree that grows there. When I got back I turned-off the boiling water and started boiling more water to sterilize my stopper jar and wooden spoon, I let them boil for ten minutes too.
Then I cleaned the apples and quartered them. As I cut them I pulled the stems off, but kept everything else (cores, peels, seeds, etc.) and added them to the pickle jar. As a side note, I’ve also heard that just stems and peels can be used for this process if you want to recycle them from an apple pie filling or apple sauce making venture.
After the water had cooled sufficiently, I mixed the sugar into it and added the mixture to the pickle jar until it just covered the apples. Then I placed the 1-pint stopper jar on top to keep the apples below the water line (this is very important, if the apples are exposed to the air, the wrong type of bacteria will develop and destroy the batch). I then covered the whole thing with a paper towel (a cheesecloth could be used) to let the mixture breath but keep bugs and microbes out. Finally, I placed the whole thing in my food pantry (any warm dark space will work).
The process can take up to three months to complete, but in three weeks I’ll have to strain the apple chunks out of it. I’ll update its progress then.